
How to Design a Floral Trucker Hat Worth Wearing
You've got the right idea: a floral trucker hat can turn a plain cap into something people want to wear. Then the artwork arrives at the decorator, the petals are too fine, the logo crosses a seam, and the finished hat looks more like a blurry souvenir than a retail product. The difference isn't the flower itself. It's the blank, the decoration method, and the file you send.
A trucker cap gives you a narrow, curved canvas with a structured front, breathable mesh, and an adjustable closure. Treat it like a production product rather than an inspiration-board image, and you can build a floral trucker hat that works for a clothing label, event, team, shop, or low-minimum wholesale run.
What a Floral Trucker Hat Actually Is
A floral trucker hat is a decorated trucker cap with a botanical design on the front panel. It might feature one oversized bloom, a small repeating sprig, a western-style flower badge, or a restrained floral band. The mesh back, plastic snap closure, and basic trucker construction remain the same. The front artwork is what changes the product's identity.
The classic trucker format has documented roots in the United States during the 1960s and 1970s, when agricultural and feed-supply companies distributed low-cost caps to farmers, truck drivers, and rural workers. The tall front panel gave brands room for a logo, while the mesh rear allowed ventilation. These caps were also known as “gimme hats” and “feed hats.” The look later returned strongly in the early 2000s, when younger consumers adopted it as a mainstream fashion accessory. The history of the trucker hat explains that shift from practical giveaway to fashion item.
Read the blank before drawing
On a classic trucker, the front decoration zone is usually a structured foam or cotton/poly panel. A six-panel front may have a seam running directly through the center, while a five-panel cap gives you a cleaner uninterrupted face. Crown height also changes how the flower reads. A taller crown can support a larger badge or stacked composition, while a low-profile crown needs tighter artwork.
The back remains a breathable mesh panel, often paired with a snapback closure. Don't plan dense embroidery across it. Mesh isn't a substitute for the front panel, and it won't support the same stitch structure.
Production rule: Decide the silhouette and decoration method before you finish the artwork. A flower designed for a flat patch won't automatically work as dense direct embroidery.
You'll need to settle four decisions: which silhouette fits the audience, which front material supports the decoration, how the artwork will be simplified, and how the wholesale order will be proofed. A trucker hat construction guide is useful for checking the basic parts before you commit to a decorated blank.
Choosing the Right Hat and Mesh
Start with the front panel, not the flower. Foam-front truckers create a smooth, slightly raised surface that works well with clean embroidery, screen print, and bold patches. Cotton or polyester twill gives the hat a more textile-driven feel, but its texture becomes part of the finished design and can make dense stitching look less crisp.
A five-panel camp-style trucker is usually the easiest option for a centered floral badge because there's no central front seam interrupting the artwork. A traditional six-panel cap feels more familiar, but you'll need to keep critical petals, lettering, and stems away from the seam. The structured profile also matters. A mid-profile crown gives florals room to breathe, while a low-profile cap suits smaller, quieter marks.
Match the front to the decoration
Foam is the most forgiving choice for bold linework and flat embroidery. It keeps the face relatively even, so a simplified daisy, rose, or botanical emblem can hold its shape. Twill is a better fit when you want a softer, more apparel-oriented cap or a patch with visible fabric texture. For screen printing, choose a smooth foam or twill front, never the mesh.
Mesh color acts like a frame. Black mesh gives bright flowers strong contrast, white mesh makes the cap feel lighter and more summery, khaki supports earthy botanical palettes, and heathered mesh adds texture without requiring another graphic element. If the front already contains several colors, keep the mesh quiet. A loud mesh color can compete with the flower before anyone notices the decoration.
A flat visor photographs differently from a curved visor, especially when the artwork sits low on the crown. Decide whether your product should look fashion-forward, outdoor-ready, or promotional before selecting the visor finish.
| Silhouette | Front Panel | Best Floral Decoration | Caveat |
|---|---|---|---|
| Structured foam-front | Smooth laminated foam | Bold embroidery, clean patches, simple screen print | Fine detail and heavy stitch density can distort the foam |
| Cotton or poly twill | Textured fabric | Embroidery, sewn patches, restrained print | Dense stitching can disappear into the twill texture |
| Five-panel camp style | Broad, uninterrupted front | Centered badge, woven label, screen print | The shape can feel less traditional than a classic trucker |
| Six-panel classic | Seamed structured front | Offset bloom, small patch, compact embroidery | Keep important details clear of the center seam |
For small batches, snapback is the practical default because one adjustable size reduces inventory complexity. Flexfit can create a cleaner fitted experience, but it requires a more deliberate size breakdown. Use the mesh trucker hat selection to compare blanks before sending a final specification.
Picking Floral Artwork That Will Survive Production
A reference image is not production artwork. A decorator needs shapes that can be stitched, printed, or cut cleanly at the final size. Start by placing the design inside the usable front-panel field. A standard front often gives you roughly 2 inches high by 4 inches wide for embroidery, and leaving a border reduces that space further.
The safest floral compositions are simple. Use one hero bloom, a small cluster, or three repeating motifs. A full garden scene may look beautiful on a screen but collapse when tiny petals are converted into satin stitches. Gradients are another problem. Thread has discrete color changes, so a watercolor effect usually works better as a printed or woven patch than as dense direct embroidery.
Build for the smallest version
Set the final production size before you approve the artwork. Use bold petals, clean outlines, and enough negative space for each element to remain distinct. Fine details should be at least 1.5 mm where the decoration process allows it. Thin outlines can vanish, especially when a pale flower is placed on a pale front panel.
White-on-white is a common failure. The artwork technically exists, but the thread or ink has no contrast against the cap. If you want a quiet tonal design, create separation through an outline, border, texture, or darker mesh instead of relying on color alone.
Before you send anything, check four issues:
- Licensing: Don't lift an illustrator's flower or a stock graphic without the necessary rights.
- Source format: A JPEG-only file gives the decorator limited control over scaling and separation. Supply vector artwork whenever possible.
- Seam placement: A centered six-panel logo can be split or distorted if the flower crosses the crown seam.
- Smallest size: Design at the smallest size you'll sell, not the largest mockup you'll show online.
For decorative borders and repeating botanical layouts, the 2026 flower border image guide can help you think through spacing and repeat structure before you simplify the art for production.
A practical digitizer will decide stitch direction, underlay, and pull compensation. Your job is to supply artwork with strong shapes, clear color separation, and a confirmed decoration field. The logo digitization guide can help you understand what changes when a flat illustration becomes an embroidery file.
Embroidery, Patches, or Screen Print
There isn't one universally correct way to decorate a floral trucker hat. Each method solves a different problem, and the right choice depends on detail, unit economics, minimums, and the feel you want in the customer's hand.
Flat embroidery gives a flower a direct, retail-style finish. It's a strong choice for a single rose, sunflower, daisy, or botanical emblem with defined petals. Keep the design compact and use clear thread separation. Raised outlines can add dimension, but dense fills can pull on the front panel, especially when the artwork contains many overlapping leaves.
Embroidered patches move the difficult artwork off the cap and onto a separate twill or felt base. That makes them better for layered botanicals, merrowed borders, applique shapes, or designs that need a distinct badge outline. You can also replace the patch later without rebuilding the entire cap decoration, depending on how the product is constructed.
Screen print is the best route for an allover floral repeat, watercolor-inspired image, or small printed detail that thread can't reproduce cleanly. It sits flat and works on a smooth foam or twill front. Curved seams make registration more difficult, so keep important elements away from panel breaks and avoid treating a six-panel cap like a flat poster.
| Method | Best For | Detail Level | Typical MOQ | Look & Feel |
|---|---|---|---|---|
| Flat embroidery | Single bloom or bold botanical mark | Strong for simplified shapes | Depends on the decorator | Textured, tactile, retail-ready |
| Embroidered patch | Layered flowers, badges, applique forms | High once artwork is converted to patch format | Depends on patch and cap order | Defined edge, badge-like, flexible |
| Screen print | Repeating florals, gradients, flat illustrations | High for printed detail | Depends on the printer | Smooth, graphic, apparel-oriented |
The material baseline used in wholesale production often combines a 65% cotton and 35% polyester twill front with a 100% polyester mesh back, while some models use a full polyester foam-front construction. Cotton can improve hand-feel and embroidery behavior, while polyester helps with shape retention and drying speed. This material and customization guide also highlights the risk of stitch pull on unsupported mesh and excessive density on foam.
Choose the decoration method that protects the design's weakest detail. If the petals need gradients, print or a patch is usually safer than forcing every transition into thread.
Cost and minimum order quantities vary by shop, blank, and decoration route. Get those figures in writing with the proof rather than assuming the cap's blank price tells you the finished order cost.
Preparing Your Files the Right Way
Clean files save time because the decorator can review one reliable source instead of guessing which attachment is current. Send AI, EPS, or SVG whenever possible. Convert text to outlines, identify every color, and include Pantone references or a close brand equivalent.
For embroidery, don't create your own stitch file unless the shop specifically asks for one. Supply the vector artwork and a separate color list, then let the digitizer handle underlay, stitch direction, density, and pull compensation. A DST or PES file may be useful after digitization, but it shouldn't replace the original artwork.
Use a practical file package
- Vector source: AI, EPS, or SVG with editable shapes.
- Outlined type: Convert lettering to outlines so the decorator doesn't need your font file.
- Color references: List thread or ink colors clearly, using Pantone references where possible.
- Size specification: State the finished width and height, plus the confirmed usable field.
- Decoration notes: Identify whether the art is for direct embroidery, a patch, or screen print.
- Print separation: Supply layered artwork with each ink color on its own channel when printing.
- Patch outline: Include a die-line or shape file for non-rectangular patches.
- File control: Put the final artwork, color list, and production notes in one consolidated ZIP.
Keep lettering above 0.25 inch, about 7 mm, and keep individual elements above 1.5 mm for embroidery. Thin shapes drop out when stitched into dense twill or foam. For screen print, include a 0.125-inch bleed beyond the intended edge so small registration shifts don't expose the panel underneath.
Match the artboard to the confirmed stitch field. Remove background fills that shouldn't be stitched or printed. Don't ask the shop to interpret a flattened JPEG as a production specification.

Proofing and Placing a Custom Order
The proof is where a pretty concept becomes a manufacturable floral trucker hat. A digital mockup should show the artwork on a representative cap, but it isn't a physical sample. Review it as a production document, not as a lifestyle image.
Check the artwork scale against the crown. Confirm left and right placement, inspect the space around the seam, and make sure the back closure area stays clear. Look closely at thread colors that sit near the cap color. A shade that contrasts on your monitor may photograph almost invisibly once it becomes thread.
Read every detail in the mockup
Pay attention to kerning if the flower includes lettering. A small gap can close during embroidery, and a word placed too close to a petal can become difficult to read. Ask the decorator to show the final decoration width and height, not just a logo floating over a cap photo.
If you're creating product images before the physical run, an AI photoshoot for clothing brand can help you explore styling and placement concepts. Don't use a generated image as approval for thread behavior, patch alignment, or actual color matching. The production proof and, for important launches, a physical pre-production sample remain the decision points.
Prepare the order before approval
Low-minimum wholesale runs commonly fall between 24 and 144 pieces, with production often taking 2 to 3 weeks after art approval, plus shipping, according to the ordering benchmark supplied for this type of custom run. Confirm the current schedule with your decorator because blank availability, decoration capacity, and shipping destination can change the timeline.
Your purchase order should include:
- Hat style code and front-panel material.
- Cap colors and mesh colors.
- Quantity and fitted or snapback sizing breakdown.
- Decoration method, placement, and finished dimensions.
- Artwork filename and approved proof version.
- Ship-to address that can receive a carton.
- Required delivery window and contact details.
A pre-production sample is worth considering for a first floral run. It can expose muddy thread matching, a patch that sits too close to the seam, or a flower that loses its center once stitched. That small approval step is cheaper than discovering the problem across the full order.
Dirt Cheap Headwear offers blank trucker styles, custom embroidery, patches, printing, and low-minimum decorated headwear through its custom-order process. Treat it as one sourcing option, compare the specifications, and ask for a proof that reflects the exact cap and decoration method you intend to buy.
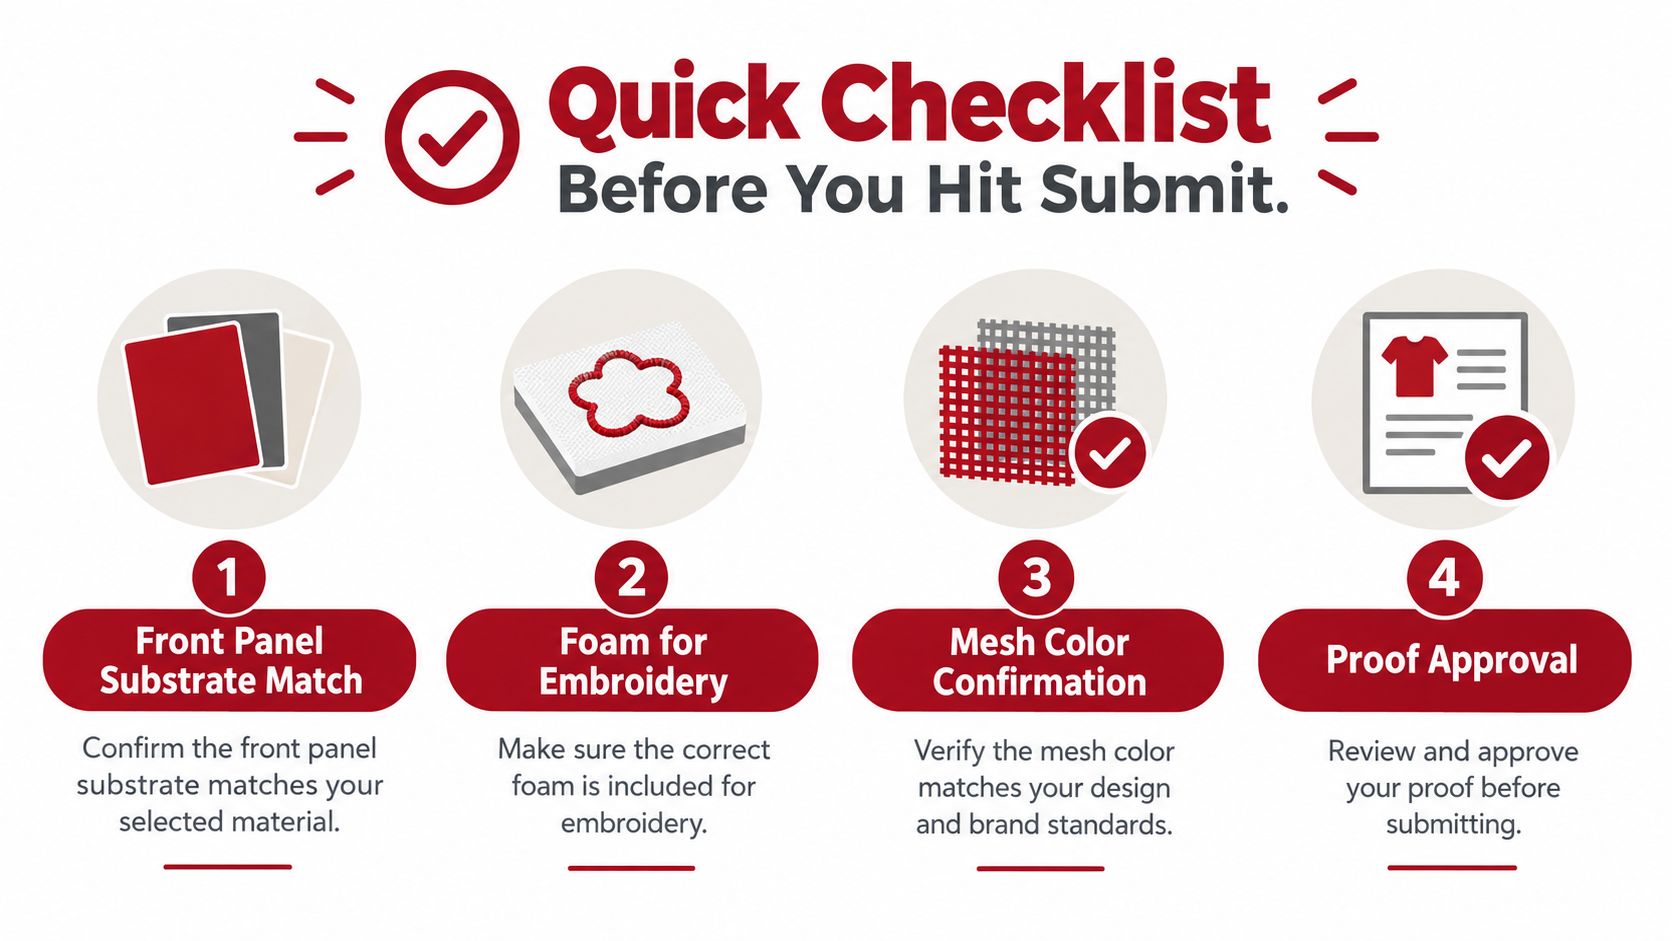
Quick Checklist Before You Hit Submit
Run this list before you approve the order. It catches the problems that make floral caps look distorted, muddy, oversized, or generic.
- Match the substrate: Use a foam front for bold embroidery, and choose twill or a smooth poly front for patches and screen print.
- Confirm the field: Keep the artwork inside the approved usable embroidery area, rather than designing to the full visible crown.
- Control the mesh: Make sure black, white, khaki, or heathered mesh frames the flower without competing with it.
- Clean the file: Use DST or PES only when requested for embroidery, and provide vector or layered print files for printed decoration.
- Strengthen outlines: Replace fragile lines with stitching-friendly shapes. Don't rely on details under 1 mm for embroidery.
- Review the proof: Check petal alignment, seam clearance, lettering, scale, and color changes between the screen and thread chart.
- Confirm the order: Recheck quantity, cap sizes, minimums, delivery window, approved artwork version, and shipping address.
Don't place the full run until you know the flower works at its smallest selling size. Order a test quantity or approve a pre-production sample, then use the same confirmed file and blank specification for replenishment.
If you're ready to turn the artwork into a sellable cap, visit Dirt Cheap Headwear to compare wholesale trucker blanks and custom embroidery, patch, and printing options. Send your floral file with the intended decoration method, request a proof, and use that approved specification for a small test run before scaling.