
Custom Embroidered Snapbacks How to Order Without Mistakes
You've got a logo, a team or event date, and a stack of snapback colors open in different browser tabs. The order seems simple until the first sample arrives with a crowded front panel, puckering around the fill, or lettering that looked sharp on screen but disappears into thread. Custom embroidered snapbacks are forgiving only when the crown, artwork, backing, and placement are treated as one system.
The structured front gives you a dependable decoration surface, but it's still a curved cap. A design that works perfectly on a flat polo can distort near a seam or brim. The practical way to avoid rework is to choose the blank first, size the logo to the crown, digitize for cap construction, approve a physical sew-out, and only then release the bulk order.
Why Custom Embroidered Snapbacks Still Win for Brands
A buyer usually starts with a straightforward request: “Put our logo on a snapback.” The trouble starts when the team chooses a cap from a product photo, sends over a detailed logo, and expects the decoration to look identical at any size. The cap may be attractive, but the front panel has to support the artwork, and the artwork has to respect the panel.
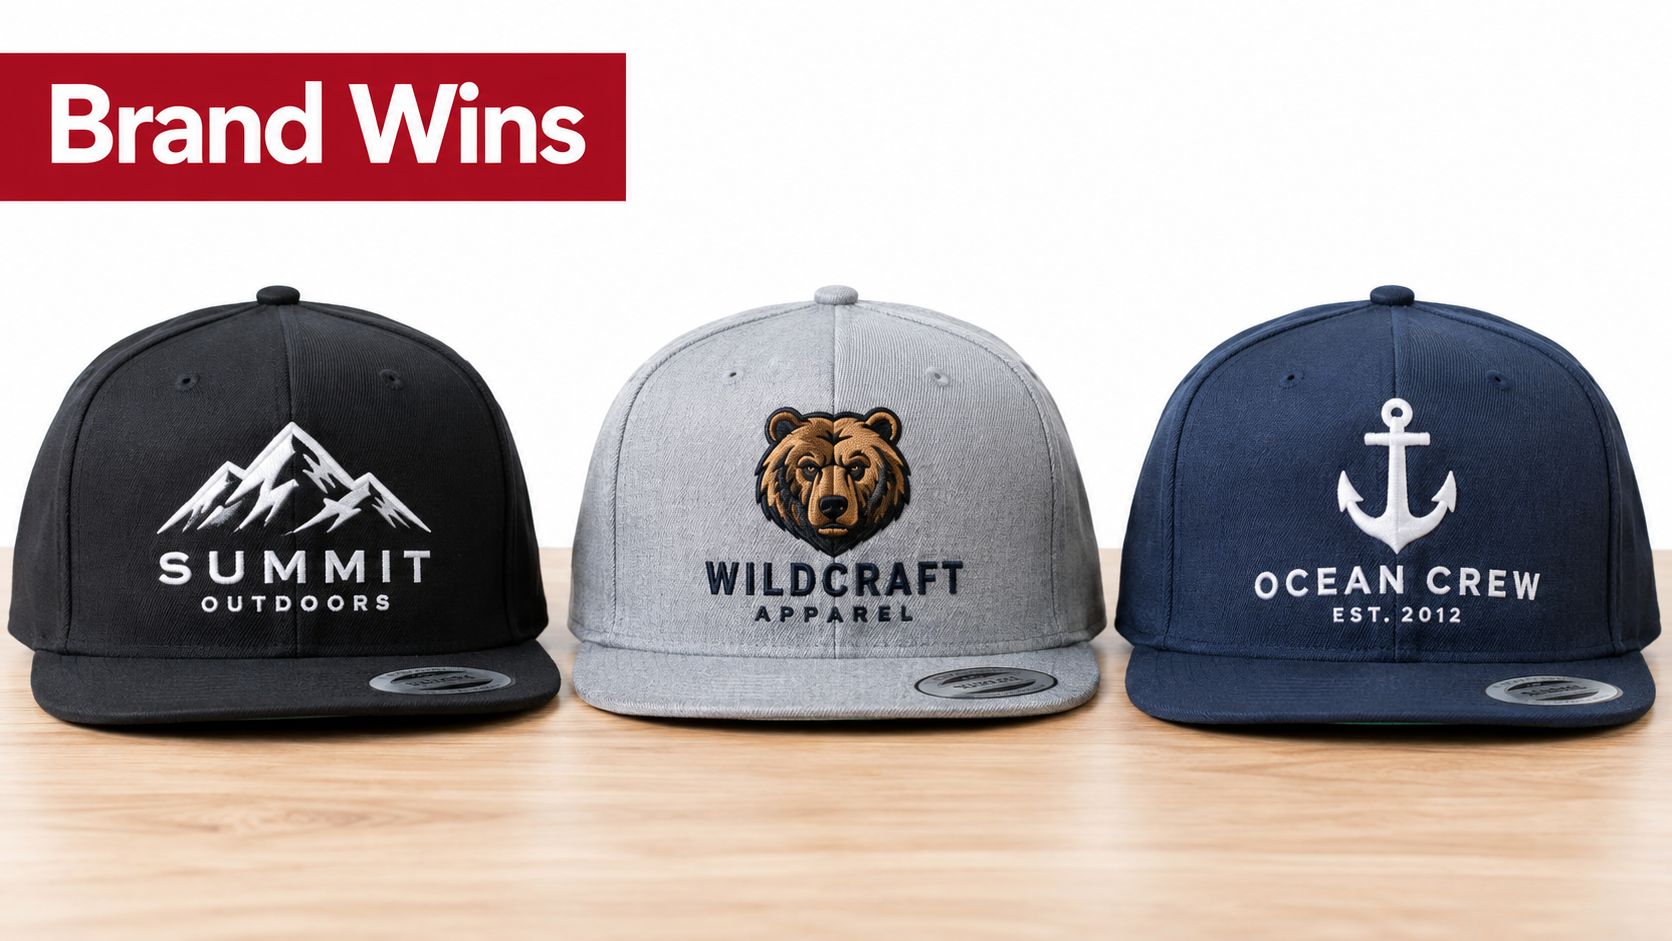
Snapbacks work well because their structured crown and relatively flat front panel give a logo a stable, visible position. That profile separates them from relaxed dad hats, where a soft crown can make a large design look uneven, and from highly ventilated performance caps, where the material and construction may call for a lighter decoration approach.
The format also carries useful cultural recognition. The modern snapback lineage traces back to baseball caps, with the Brooklyn Excelsiors commonly cited as an early milestone in 1858, while New Era's move from an 8-panel design to a 6-panel construction in 1954 helped define the cap structure used across modern styles. The style later moved from sports utility into mass culture during the 1990s, when artists and television helped make flat-brim snapbacks mainstream. Those historical details are documented in this snapback origin history.
That history still shows up in buying decisions. A sports team may want a bold badge, a brewery may prefer a retro wordmark, and a company giving hats to field staff may need a restrained logo that looks appropriate with a uniform. The same closure can serve all three groups, but the crown height, fabric, brim shape, and decoration method shouldn't be identical.
When the format makes sense
Choose a snapback when you need an adjustable fit, a defined front profile, and a logo that should read clearly from a distance. It's particularly practical for teamwear, event merchandise, retail drops, and promotional programs where a consistent silhouette matters.
Consider another cap construction if the audience prioritizes a softer everyday fit, moisture management, or a more refined low-profile appearance. Current industry commentary points toward performance materials, laser-cut or perforated mesh, lighter builds, earth tones, two-tone layouts, monochrome branding, and simpler decoration as important directions for 2026, so “snapback” shouldn't become an automatic choice when comfort or a premium fashion feel is the requirement. The decorated apparel industry outlook provides context for that shift.
The strongest orders don't begin with the biggest logo. They begin with a blank that gives the logo enough room, enough support, and the right personality for the person wearing it.
Choosing the Right Snapback Blank and Brand for Your Logo
The blank controls the finished look before a single stitch runs. Start with the crown and panel layout, then match the material and brim to the audience. A structured cap usually gives a logo more support and a taller profile, while an unstructured cap feels softer and more relaxed. For direct front embroidery, structured construction is normally the safer starting point.
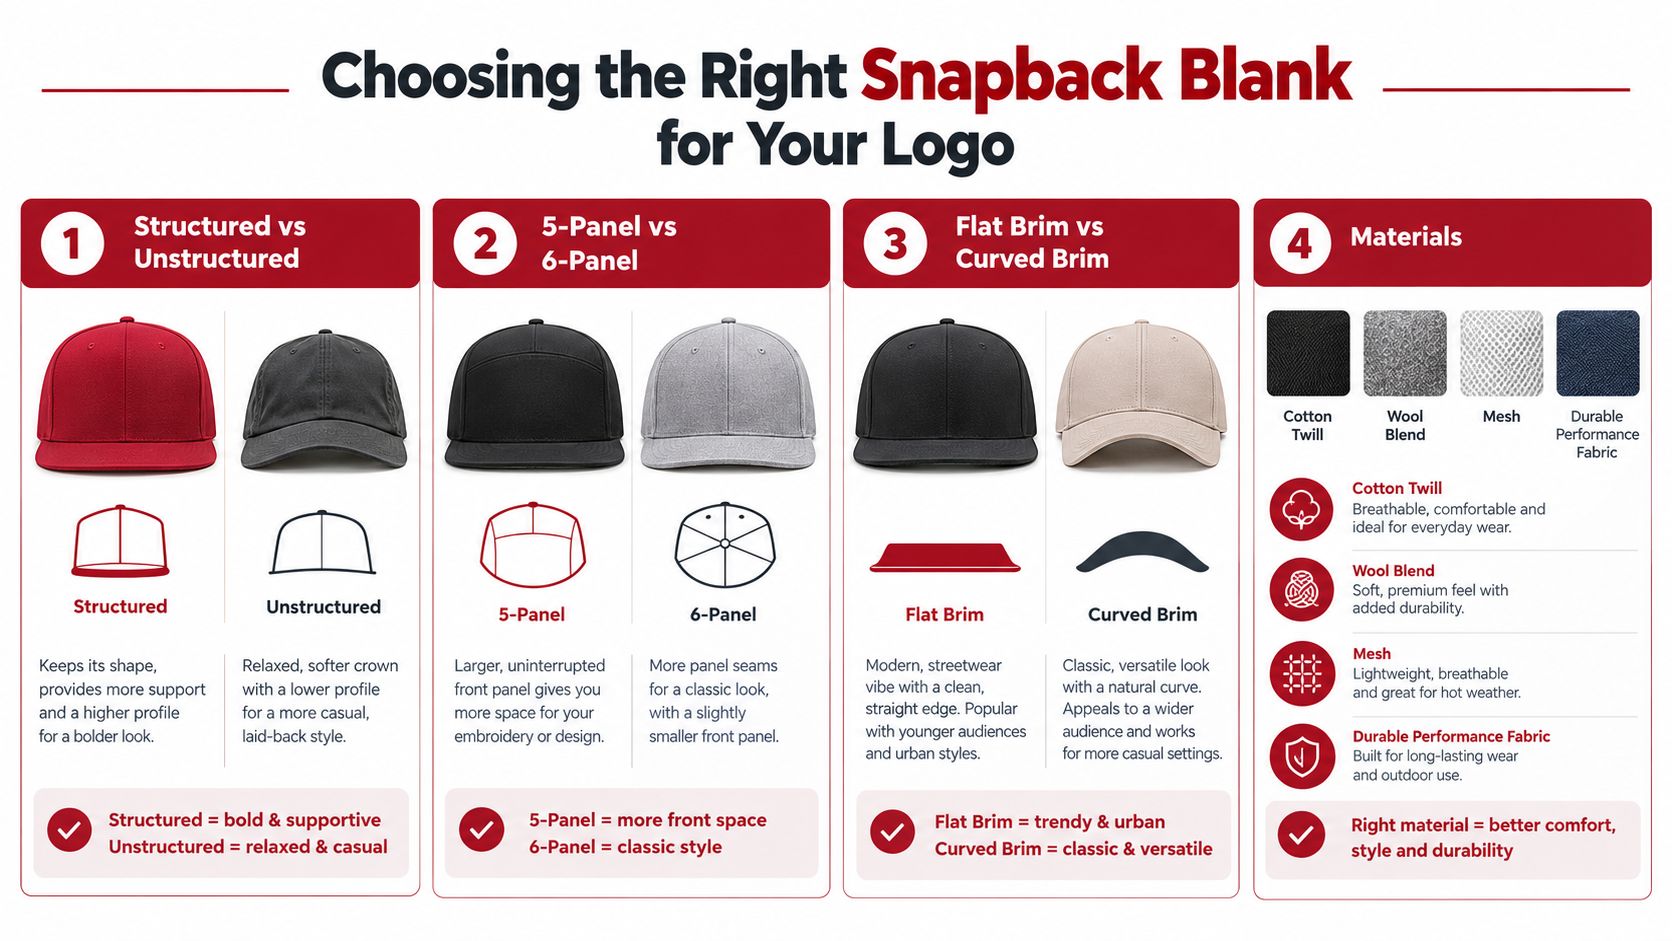
A 5-panel cap often offers a broad uninterrupted front area, but the center seam and front shape still need inspection. A 6-panel cap has a familiar athletic profile and can provide a balanced embroidery field, although panel seams become important when a logo is wide. Flat brims lean toward streetwear and sports styling. Curved brims generally feel more traditional and approachable.
Material changes both comfort and stitch behavior. Cotton twill has a clean, familiar surface. Wool blends add a heritage feel. Mesh-backed trucker styles improve ventilation while keeping decoration on the solid front. Performance or perforated materials can suit outdoor and athleisure audiences, but they may require more conservative sizing and a cap-specific production test.
A practical blank comparison
Brands such as Richardson, YP Classics and Flexfit, New Era, Legacy, Nike, and Valucap cover a useful range of silhouettes and price positions. The right choice depends less on the name alone and more on the relationship between the blank and the logo.
| Buyer and Logo Type | Best Snapback Structure | Why It Works |
|---|---|---|
| Streetwear brand with a compact icon or wordmark | Structured 5-panel or 6-panel, flat brim | Supports a crisp front and keeps the design visually deliberate |
| Sports team with a bold mascot or badge | Structured 6-panel, flat or moderately curved brim | Gives larger shapes a stable field and a recognizable athletic profile |
| Corporate promotion with a restrained wordmark | Structured solid twill or clean mesh-front style | Looks organized with uniforms and keeps the brand readable |
| Outdoor crew with a simple emblem | Structured mesh-back trucker or performance-oriented blank | Keeps the front defined while giving the wearer more ventilation |
| Premium lifestyle label with small branding | Refined structured cap, subdued color, compact placement | Lets material, color, and proportion carry the design |
Before committing, request the actual color, inspect the crown height, and confirm whether the front panel has a seam, foam layer, mesh transition, or unusual taper. Stock matters too. A perfect blank that disappears before production creates more trouble than a close alternative that can be reordered consistently.
You can compare available silhouettes through wholesale blank snapback hats, then ask for a physical sample when the front shape is central to the brand presentation.
A simple rule helps: match the cap's visual weight to the logo's visual weight. A tall, firm crown can handle a stronger emblem. A lightweight or refined cap often looks better with smaller embroidery and fewer thread colors.
Preparing Artwork and Sizing Your Design for the Front Panel
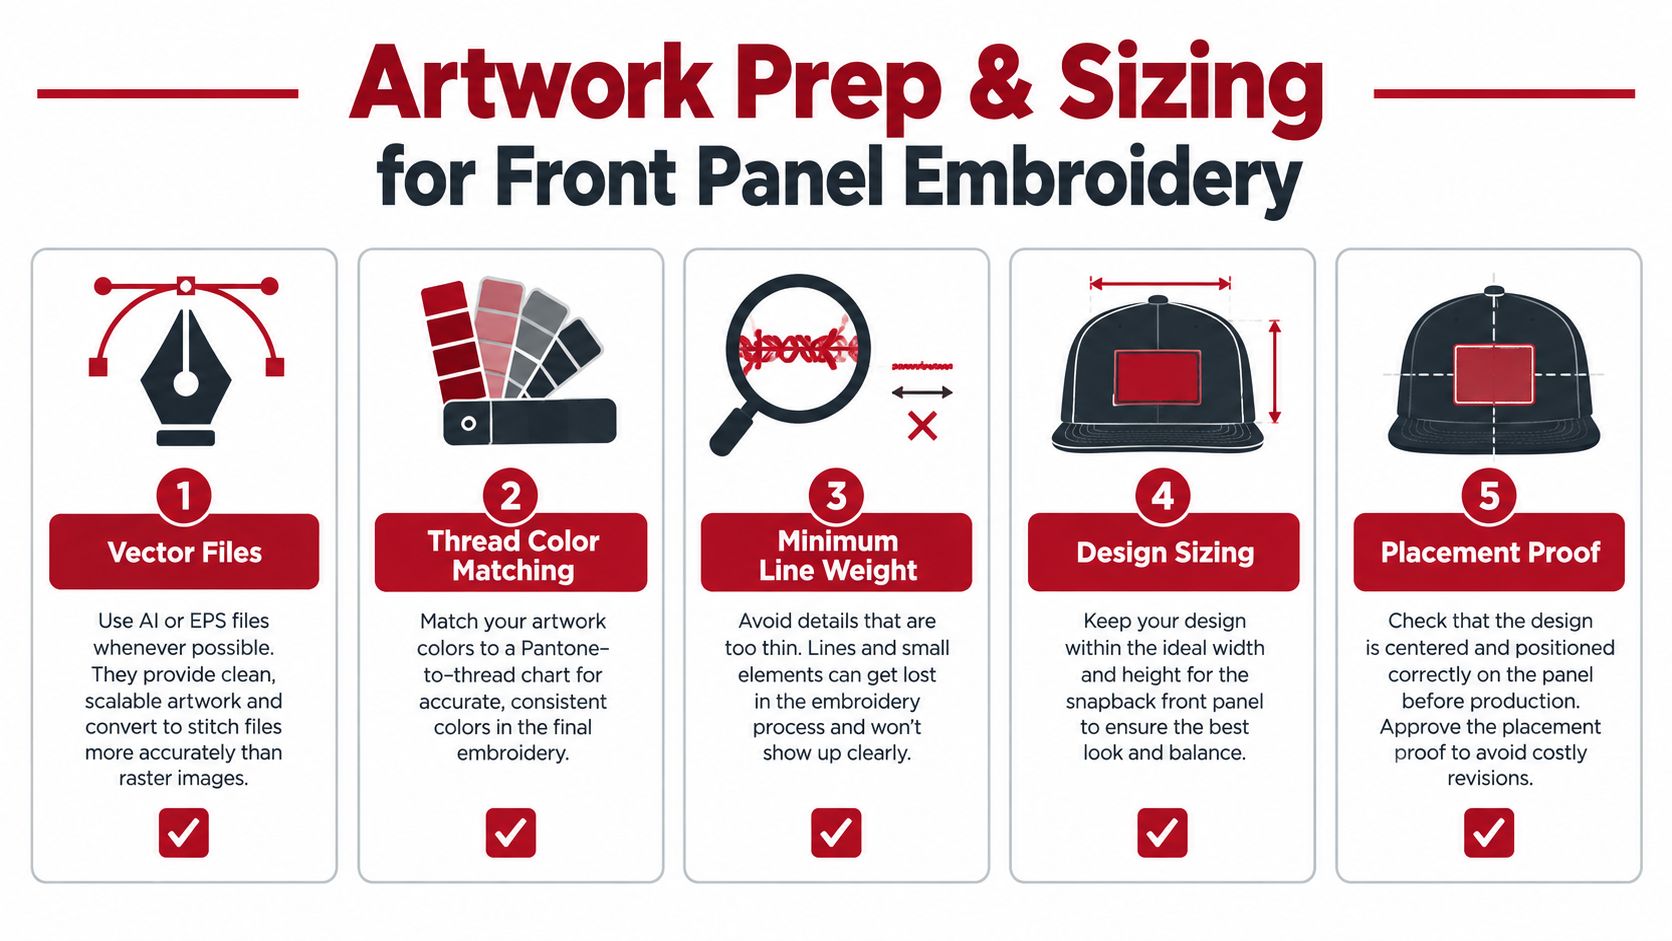
Send the cleanest artwork you have, preferably a vector file such as AI or EPS. Vector artwork gives the digitizer clear shapes and editable paths. A raster file can still be usable, but low-resolution edges, blurred outlines, and flattened effects make stitch planning slower and less reliable.
Start by removing anything embroidery can't reproduce well. Gradients, tiny gaps, hairline outlines, and intricate shading often need to become solid shapes, simplified borders, or separate thread-color decisions. The goal isn't to alter the identity of the logo. It's to preserve the parts people need to recognize after the design becomes thread on a curved surface.
Build a cap-ready artwork brief
Give the digitizer more than a logo attachment. Include the blank style, front placement, desired finished width and height, thread-color preferences, and whether the design should be flat embroidery, 3D puff, or a patch.
- Use vector artwork: Supply editable paths where possible so outlines and enclosed shapes can be planned cleanly.
- Define thread colors: A brand color on screen may not match thread, so approve a thread-chart translation rather than relying on a digital monitor.
- Protect fine details: Thin lines and small lettering can close up or vanish. Simplify them before production instead of asking thread to reproduce impossible detail.
- Approve the proportion: A wide wordmark needs a different height from a compact badge. Don't force both into the same rectangle.
- Request a placement proof: Check centering against the actual front panel, not only against a flat digital mockup.
The most common sizing question is, “How large can the front logo be?” Guidance varies by cap and decoration field. One independent guide places typical snapback front embroidery around 4 x 2.25 inches, while other hat-specific guidance describes comfortable areas closer to 5.5 x 2.1 inches or recommends 2.5 to 3 inches wide for a balanced result. Those differences are summarized in this hat embroidery size guide.
That variation is useful, not confusing. A logo can technically fit while still looking oversized because the crown tapers, the brim crowds the lower edge, or the side seams pull the design visually inward. For placement, keep embroidery at least half an inch from the brim and sides, following the cap-digitizing guidance in this logo digitizing resource.
Practical rule: If the design feels crowded in the proof, reduce it before increasing stitch density. Smaller, cleaner embroidery usually looks more premium than a full front packed with detail.
Embroidery Techniques Backing and Placement That Prevent Defects
A good file can still produce a poor cap if the machine setup ignores the crown. Snapback fronts curve away from the needle path, panel seams interrupt the surface, and the brim limits how close the hoop can work. Production decisions need to account for all three.
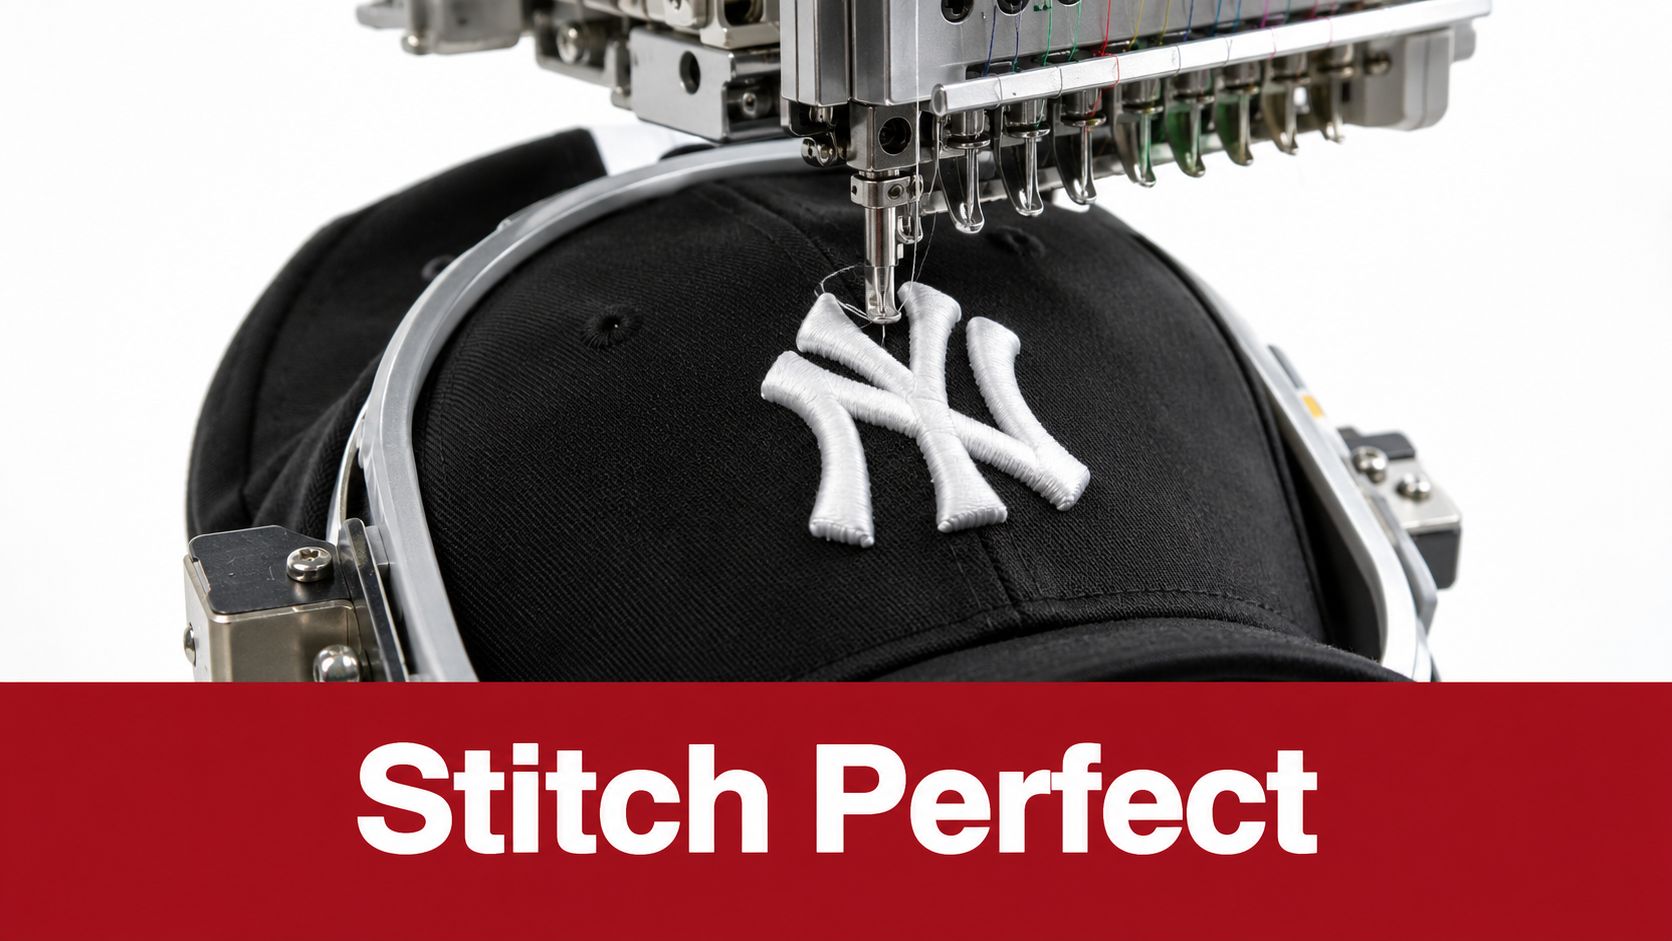
Flat embroidery suits most logos, especially fine lettering, multicolor marks, and designs with controlled detail. 3D puff adds height and a stronger sports or streetwear effect, but it needs bold shapes, adequate spacing, and a stable front. If the artwork has small counters or narrow lines, puff can fill those openings and make the mark muddy.
A patch can solve a different problem. It gives a design a framed, tactile surface and can work well for heritage, outdoor, or retail aesthetics. It also adds another component and attachment step, so direct embroidery remains the cleaner choice when the brand wants a quiet, integrated finish.
Digitizing for a curved crown
Cap files shouldn't be treated like flat-garment files. Practical cap guidance recommends a front density benchmark of 4 to 4.5 stitches per mm, often paired with a 10 to 20 percent density reduction and slower machine speeds around 500 to 600 stitches per minute. These figures and the related workflow are outlined in this cap embroidery digitizing guide.
The underlay should generally begin near the center seam and move outward. That approach helps manage the way the fabric shifts across the crown. A test sew-out on the actual blank is essential because thread, backing, crown stiffness, and color can all change the result.
If puckering appears, the operator may need to reduce tension by one to two settings, then test again. Slowing down, lightening density, and removing unnecessary stacked fills usually does more than tightening the design.
Backing and quality checks
Structured snapbacks need support beneath the embroidery. Cap-specific heavyweight backing, or a double layer for a large or dense front logo, gives the stitches a more consistent foundation. Tear-away backing alone often struggles on poly-blend caps, particularly when the logo puts substantial pull on the front panel.
A commonly used production rule adds a second backing layer for designs over 10,000 stitches. That threshold and the recommended stabilization workflow are covered in this hat stabilizer guidance.
Inspect the sew-out for:
- Puckering: Look around filled shapes and letter edges for gathered fabric.
- Misregistration: Check whether outlines, borders, and color areas meet cleanly.
- Stacked stitches: Watch for unnecessary layers that create stiffness or bulk.
- Unequal spacing: Confirm that gaps between letters and design elements remain open.
- Missing stitches: Inspect small details and corners, especially near seams or the brim.
Even hoop or clamp pressure matters. Too little movement allows shifting. Too much pressure can distort the crown before stitching starts. Use the shop's embroidery placement guide to confirm the intended front, side, or back position before approving production.
Costs Lead Times Proofs and Care From Order to Delivery
The easiest way to control an order is to separate the decisions into checkpoints. First select the blank and color. Then confirm the decoration method and placement. Next review the proof and sew-out. Only after those approvals should the shop run the full quantity.
Price usually follows the blank, stitch workload, decoration style, quantity, and number of placements. A compact flat logo on a standard structured cap is a different job from a dense mascot, 3D puff lettering, or front-and-side embroidery. Ask whether digitizing, proofing, and setup are included, and request a volume quote when the order is large or combines several models.
A clean ordering workflow
- Confirm the use case. Staff uniforms, sports teams, retail merchandise, and event giveaways may need different crown profiles and materials.
- Lock the blank. Approve the exact model, color, closure, and available stock rather than choosing only from a generic mockup.
- Submit production artwork. Include the logo file, thread-color expectations, finished dimensions, and preferred technique.
- Review the digital proof. Check size, centering, colors, and relationship to the brim and side seams.
- Approve a sew-out when needed. Dense logos, puff embroidery, unusual blanks, and small lettering deserve a physical test.
- Release the quantity. Keep the approved proof attached to the order so reorders follow the same standard.
For smaller programs, low minimums can make a sample run practical before a larger commitment. Dirt Cheap Headwear's custom embroidery service supports minimums starting at six pieces per logo, according to the publisher's business information, and its team handles custom order communication during Monday through Friday, 9 a.m. to 5 p.m. EST. Treat those details as part of the quote conversation, especially if your deadline depends on current stock or international shipping.
Proof approval is a production control
A digital proof confirms the intended artwork, but it can't fully show how thread will sit on a curved crown. Ask for clarification if the logo reaches a seam, the lower edge looks tight, or the proof uses a flat image that hides the cap's profile.
For a bulk order, write down the approved blank, thread colors, finished size, placement, stitch style, and backing expectation. That record makes reorders easier and gives the shop a clear reference if the same logo returns on another cap color.
Once delivered, keep hats away from crushing pressure during storage and packing. Pack structured caps so the crown keeps its shape, avoid folding embroidered fronts, and follow the blank manufacturer's cleaning instructions. Gentle handling protects both the cap and the raised texture of the stitches.
Your Ordering Checklist and Final Tips for Flawless Results
A reliable snapback order can be reduced to a short approval list. Use it before you pay, and use it again when you reorder.
- Blank: Confirm the exact brand, model, color, crown structure, panel count, brim shape, and closure.
- Audience: Match the cap's profile and material to uniforms, sports, retail, outdoor work, or promotional use.
- Artwork: Send vector artwork when available and simplify details that won't survive in thread.
- Proportion: Judge the logo against the crown, not against a flat rectangle. Smaller is often cleaner.
- Placement: Keep the design clear of the brim, side seams, and unstable edge areas.
- Technique: Choose flat embroidery for detail and 3D puff for bold, well-spaced shapes.
- Backing: Ask for cap-specific stabilization, with additional support for large or dense designs.
- Proof: Approve the digital layout, then request a physical sew-out when the design or blank is demanding.
- Reorder record: Save the approved size, thread colors, placement, and blank information for consistent replenishment.
- Packing: Store finished caps without crushing the crown or front decoration.
The best result isn't the design with the most stitches. It's the one that respects the cap's structure, leaves enough breathing room around the logo, and still looks natural when someone wears it. Make the blank and proportion decisions early, because those choices prevent more defects than last-minute machine adjustments.
If you're ready to test a logo, start with a manageable run and use the approved sample as the standard for scaling. For wholesale blank options, in-house decoration, low minimums, stock guidance, and worldwide shipping, visit Dirt Cheap Headwear and submit your logo and cap requirements for a practical order review.