
Your Complete Guide to Buying Wholesale Winter Hats
Picking the right wholesale winter hat is a bigger deal than you might think. It’s not just about keeping heads warm—it’s about making a statement for your brand, unifying your team, or creating a lasting memory for an event. Get it right, and you've got a walking billboard that people actually love to wear.
This guide will walk you through everything you need to know to make a smart buy.
Finding the Right Wholesale Winter Hats for Your Business
Before you even think about colors or styles, you have to nail down one thing: what are these hats for? Are you stocking your retail shop, outfitting a hockey team, or handing them out at a winter festival? Your end goal is the single most important factor, as it shapes every other decision you'll make.
Understanding good B2B wholesale practices is the foundation for making a smart purchase that works for your budget and business needs. The market for this stuff is huge—it was valued at around USD 28.91 billion in 2026 and is expected to climb to USD 36.65 billion by 2030. That growth tells you there's a massive opportunity out there if you source your products the right way.
Define Your Purpose First
So, let's get back to that first question. What’s the job you're hiring these hats to do? Is it about brand promotion, team spirit, or making a one-time event special?
This flowchart breaks it down beautifully, helping you see which path makes the most sense for your project.
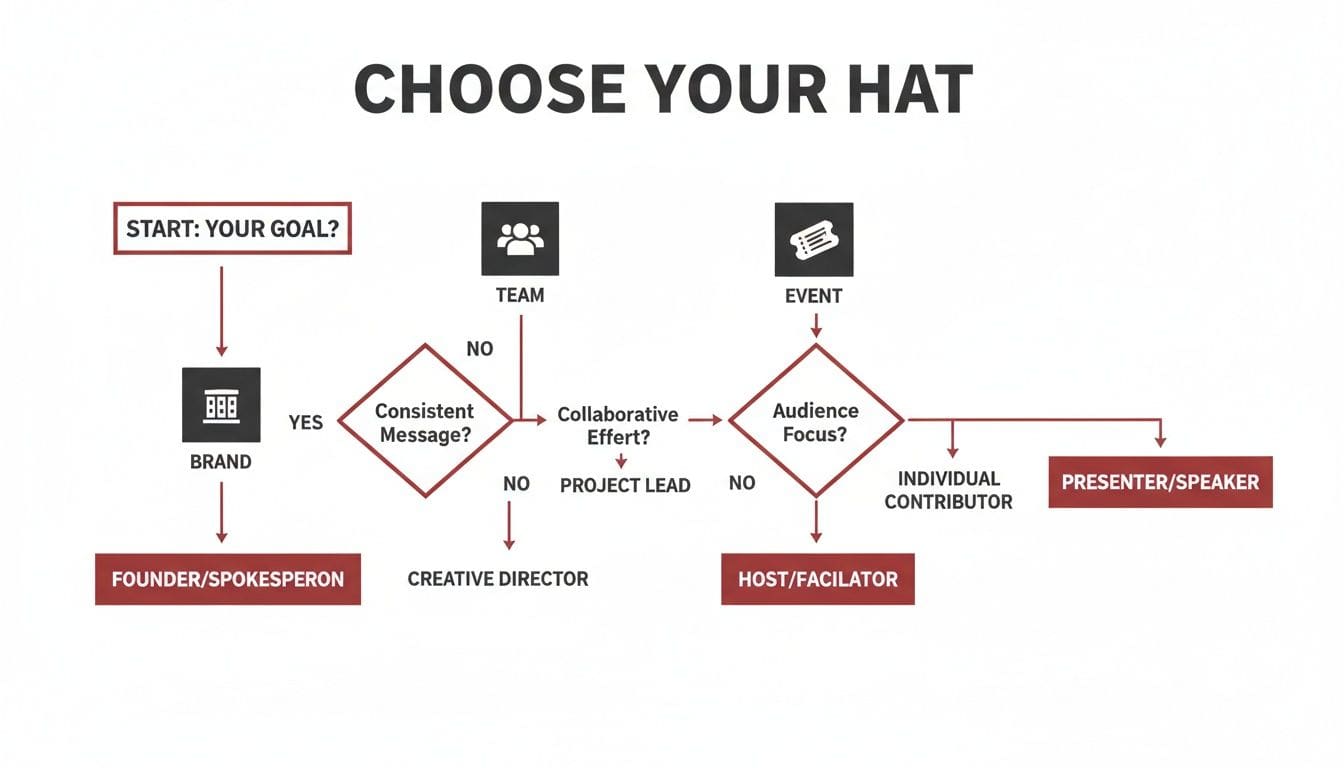
As you can see, the "why" behind your purchase points you directly to the "what." Once you're clear on your main goal, picking the right hat becomes so much easier.
Think of it this way:
- For Brands: You're putting your name on this product. It needs to feel premium and last a long time because it's a direct reflection of your quality standards.
- For Teams: It's all about unity and function. You'll likely need specific team colors and a tough, embroidered logo that can handle some wear and tear.
- For Events: Here, you're balancing cost with impact. The goal is to create a cool, memorable giveaway that people will be excited to take home, without breaking the bank.
With a clear purpose in mind, you're ready to dive into the fun stuff—exploring the specific styles and materials that will bring your vision to life.
Choosing The Right Winter Hat: A Guide to Styles and Materials
Picking the right wholesale winter hat can feel overwhelming. With so many options out there, it’s easy to get lost. But here’s the secret: the best choice isn't just about looks. It’s about matching the right style and material to what you actually need it for.
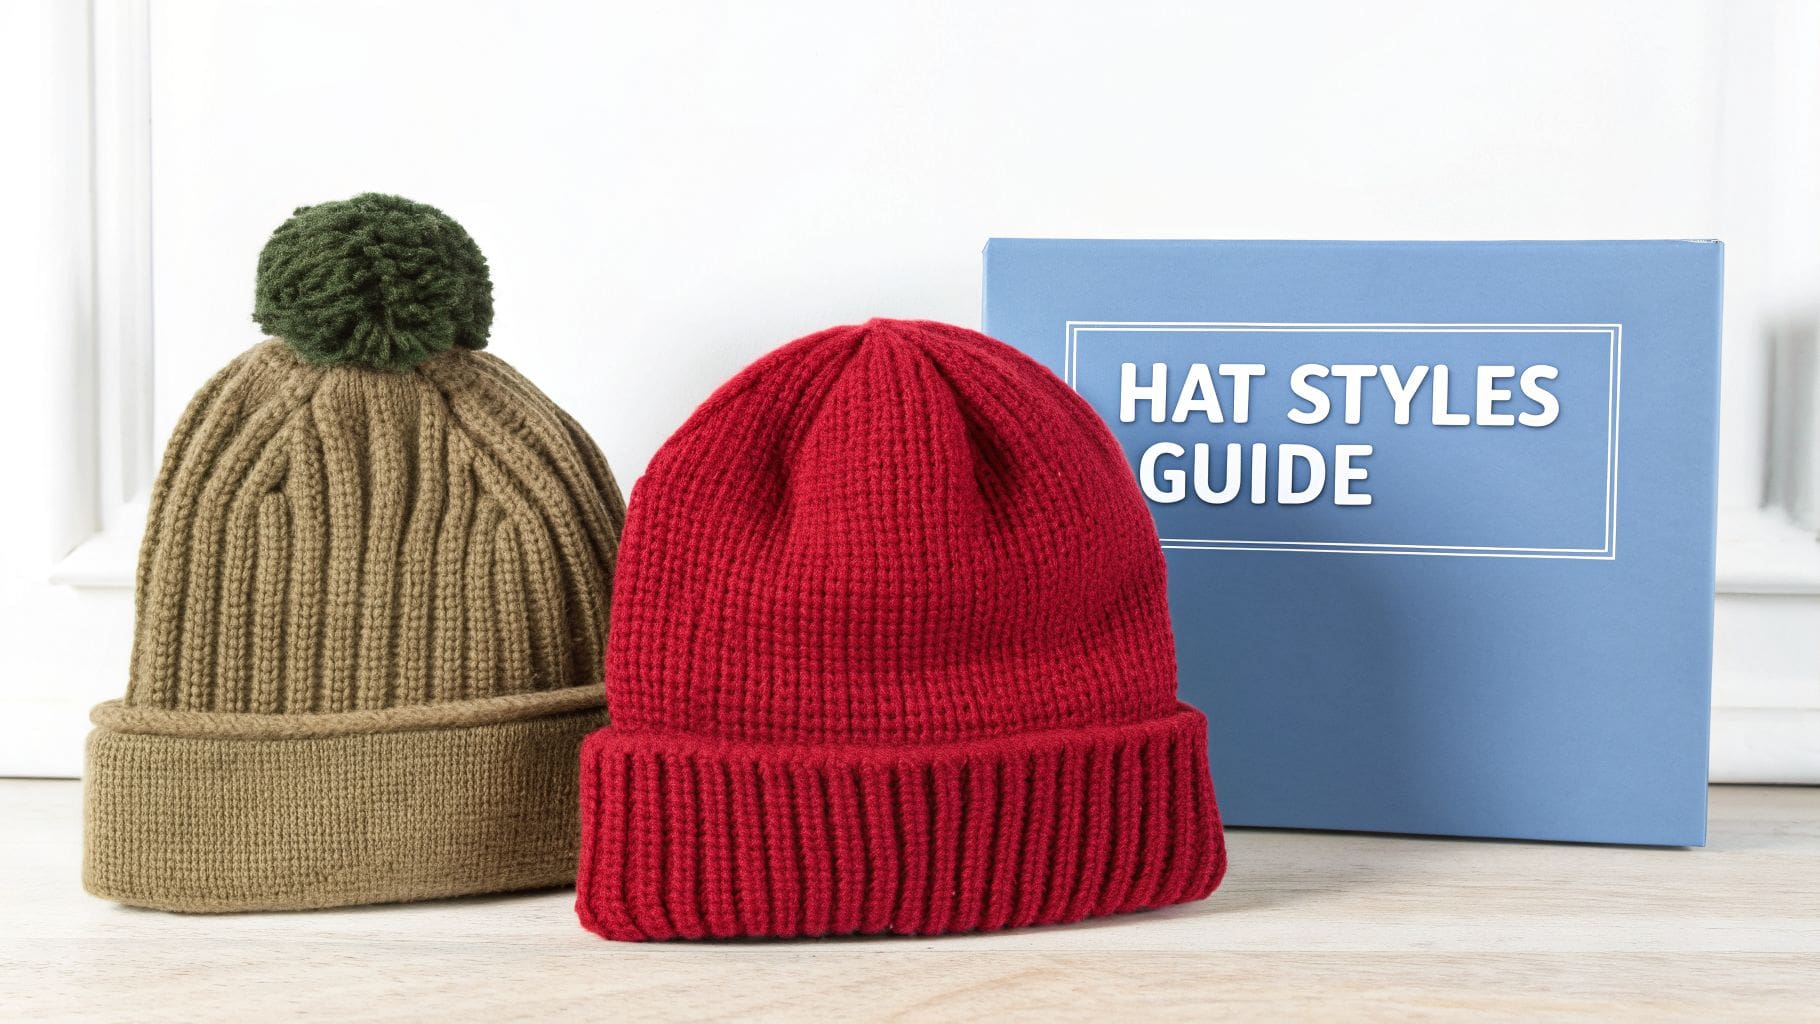
Think of it this way: the style is the "what" (a classic beanie, a fun pom hat), and the material is the "how" (how warm, how it feels, how it holds a logo). Getting this combo right is the difference between a hat that gets worn once and one that becomes a go-to favorite.
The Most Popular Winter Hat Styles
Before we get into fabrics, let's talk about the shapes. Most of the winter hats you see are variations of a few classic designs, and each one has its own personality.
- Cuffed Beanies: This is the undisputed champ. That folded-up cuff gives it a timeless look and, more importantly, creates a perfect, sturdy spot for embroidery. It's the top choice for brands, teams, and just about everyone else for a reason.
- Slouchy Beanies: A bit more relaxed. These have a longer fit that hangs down in the back, giving off a casual, modern vibe that’s a hit with younger crowds and lifestyle brands.
- Pom Hats: You can't beat a pom for a little bit of fun. They immediately add a playful touch, making them huge sellers for ski resorts, youth sports leagues, and any kind of holiday event.
- Skull Caps: These are the no-frills, function-first option. They fit snugly against the head, making them ideal for wearing under a helmet or for anyone who just wants a clean, minimalist look.
It's no surprise that the beanie, in all its forms, is king. Industry data consistently shows that beanies aren't just the biggest part of the winter hat market—they're also the fastest-growing segment. That makes them a smart, safe bet whether you're outfitting a team, promoting your business, or stocking a retail shop.
Finding the Perfect Fabric for the Job
Okay, you've picked a style. Now for the most important decision: the material. The fabric is what determines how warm the hat is, what it feels like to wear, how it looks, and what it costs. It's like picking tires for a car—you need the right ones for the conditions.
Expert Tip: Don't assume more expensive is always better. The "best" material is the one that fits your specific project. A budget-friendly acrylic beanie is perfect for a massive giveaway, while a premium wool hat makes more sense for a high-end retail collection.
Let's break down the most common materials you'll run into.
Winter Hat Material Comparison
This table gives you a quick side-by-side look at the workhorses of the winter hat world, helping you match the material to your specific needs.
| Material | Key Benefits | Best For | Price Point |
|---|---|---|---|
| Acrylic | Super durable, holds bright colors incredibly well, and is very affordable. It’s also a great option for people with wool allergies. | Large-scale event giveaways, promotional products, and any team hat where you need vibrant, lasting color. | $ |
| Wool | The gold standard for natural warmth, even when it gets a little damp. It breathes well and has a premium, classic feel. | High-end retail gear, corporate gifts, and outdoor brands that need real performance. | $$$ |
| Fleece | Unbelievably soft, lightweight, and comfortable. It wicks moisture away from your skin and provides a ton of warmth for its weight. | Cozy lifestyle brands, ski and snowboard shops, and any hat where all-day comfort is the top priority. | $$ |
| Cotton | Soft and breathable, but it doesn't insulate well once it gets wet. Best suited for milder weather. | Casual fashion beanies, brands in moderate climates, and hats designed for all-season style rather than deep-winter warmth. | $$ |
Knowing the ins and outs of these fabrics is key to making a smart buy that balances performance, looks, and budget. For a closer look at our best-selling category, check out our complete guide on ordering wholesale winter beanies to find the perfect match for your project. This will help you get it right the first time, ensuring every hat you order does exactly what you need it to.
Bringing Your Brand to Life with Customization
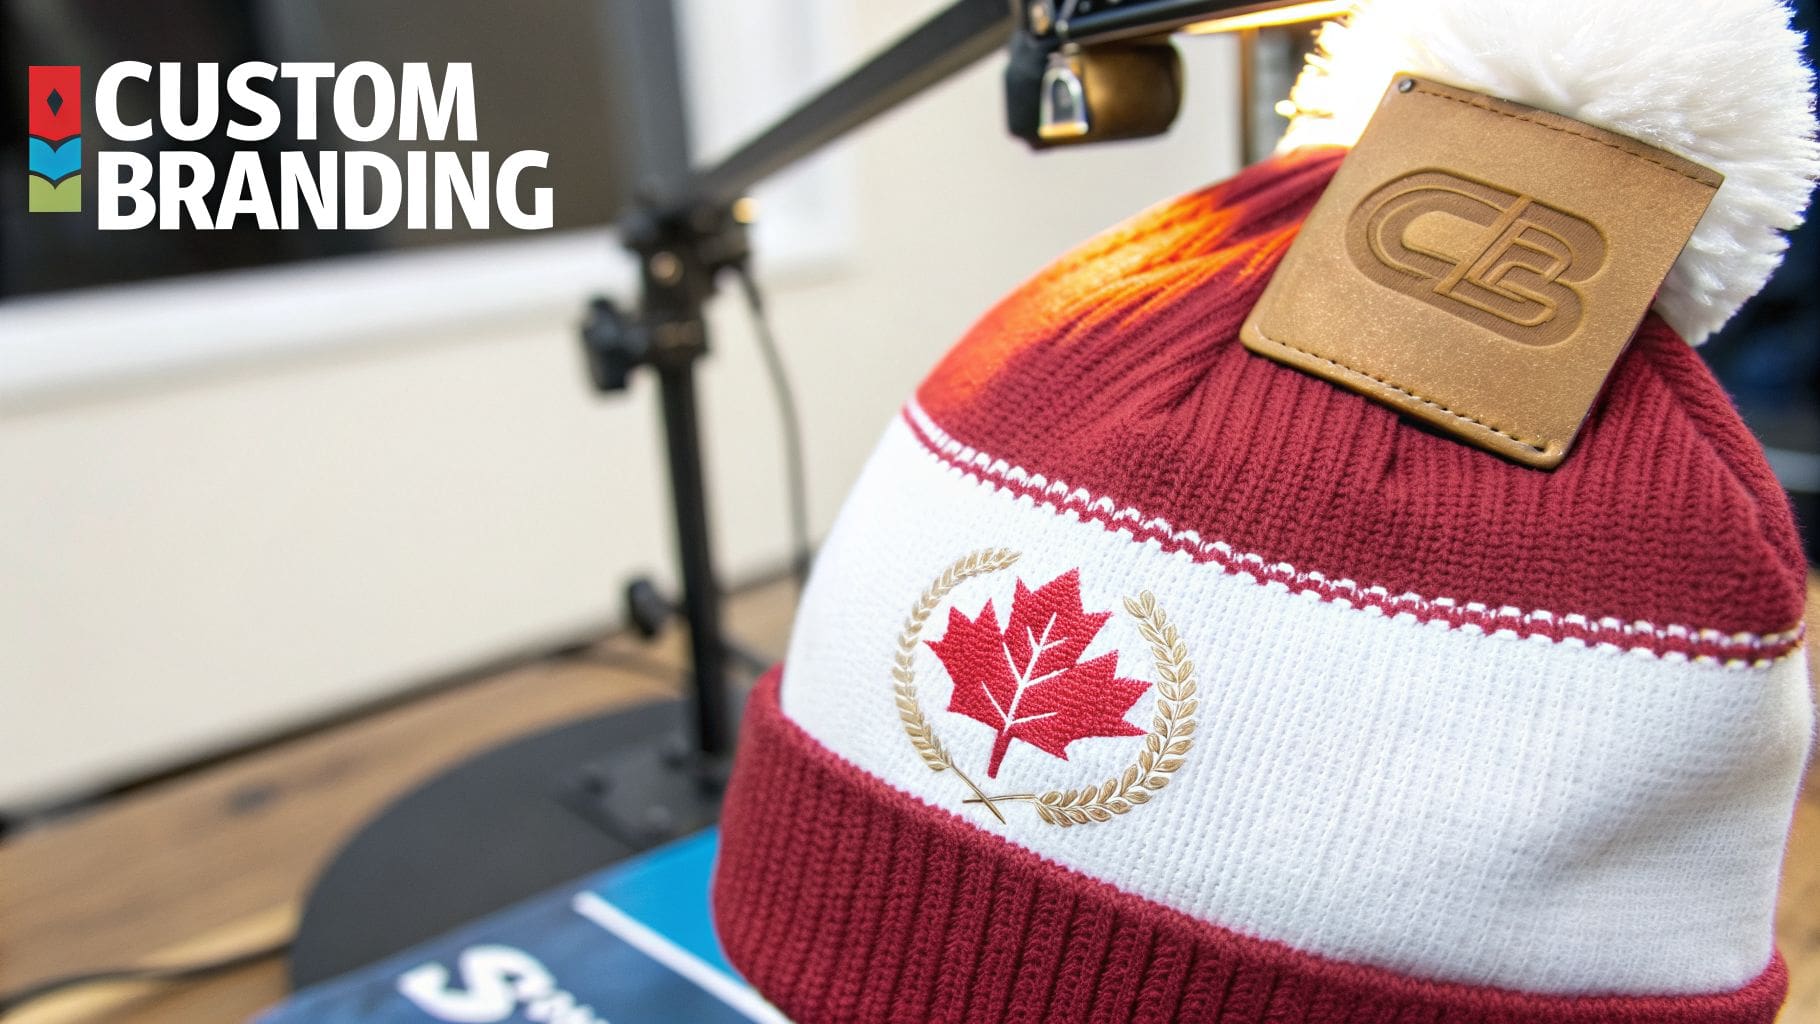
A plain winter hat is a great starting point, but a custom one is where the magic happens. This is how you turn a simple piece of headwear into a walking billboard for your brand, a symbol of team unity, or a must-have piece of event merch. It’s how you make a wholesale hat truly yours.
The very first decision is a big one: do you start with a recognizable name brand like Richardson or YP Classics, or do you go with a "blank" hat? Name brands can give you an instant stamp of quality, while blanks provide a clean, cost-effective canvas that puts your own logo in the spotlight, no distractions.
Choosing Your Customization Method
Once you’ve picked your hat, it’s time to get your design on it. The method you choose will completely change the final look, feel, and cost. It’s less about right or wrong and more about matching the decoration style to your brand’s personality.
For knit hats, embroidery is the undisputed champion of durability and classic appeal. But even within embroidery, you have a couple of distinct choices that create totally different textures.
- Flat Embroidery: This is the workhorse method, creating a clean, two-dimensional stitch. It’s perfect for capturing detailed logos and sharp text, giving you a professional look that works on just about any hat.
- 3D Puff Embroidery: If you need your logo to literally stand out, 3D puff is the way to go. We use a foam underlay to raise the stitches, giving your design a bold, three-dimensional effect. It works best with simpler logos and blocky letters.
A great design deserves a flawless execution. The digital proofing process is your most important quality check. It's a digital mockup showing exactly how your logo will look on the hat—size, colors, and placement. Always review it carefully before approving production.
Exploring Patches for a Premium Feel
Want to step up the perceived value? Patches are a fantastic way to do it. They’re created separately and then applied to the hat, giving you a distinct, high-end look that direct embroidery can’t always replicate.
- Leather Patches: Debossed or embossed with your logo, these add a rustic, sophisticated touch. They’re a huge hit with breweries, outdoor lifestyle brands, and anyone going for that handcrafted vibe.
- Woven Patches: When your design has tons of fine detail or tiny text, a woven patch is the answer. It can capture intricate lines that embroidery might struggle with, resulting in an incredibly sharp, clean finish.
- PVC Patches: Made from a soft, durable rubber, these patches have a modern, rugged feel. They allow for vibrant colors and cool 3D effects, making them a go-to for streetwear and action sports brands.
Understanding the Practical Details
Getting your logo onto a hat involves a few key steps. Knowing the lingo will make the whole process a lot smoother.
First up is the setup fee. This is a one-time charge to digitize your logo, which is just a fancy way of saying we convert your art file into a format our embroidery machines can read. If you’re curious about the process, our guide explains how to digitize a logo for embroidery.
Next are the minimums, or Minimum Order Quantity (MOQ). At Dirt Cheap Headwear, we keep our custom minimums incredibly low at just six pieces per logo. This makes it easy for small businesses to get started or for anyone to do a small test run.
Finally, you need to show off your awesome new hats. To create professional-looking product photos without the hassle of a full-blown photoshoot, you can explore tools like an AI Ghost Mannequin to give your online store a polished, consistent look.
Getting a Handle on Pricing and Timelines
Alright, let's get into the nuts and bolts of placing a bulk order. Getting the right style is the fun part, but understanding the costs and timelines is what makes your project a success. This is where we move from the creative vision to the practical plan, making sure everything lines up with your budget and deadline.
The first thing to know about wholesale is price tiers. Think of it like a trip to Costco—the more you buy, the less you pay per item. We apply that same logic to hats. A bigger order means a better price-per-hat, plain and simple.
This tiered system is a huge plus for anyone looking to grow. Your first small order might be at one price, but as you scale up and order more, you’ll automatically unlock better pricing. That difference goes straight to your bottom line.
What’s the Deal with Minimum Order Quantities?
Right alongside pricing, you'll always hear the term Minimum Order Quantity, or MOQ. It’s exactly what it sounds like: the fewest number of pieces you can buy at one time. For a lot of small businesses or event planners, high MOQs are a total non-starter, forcing them into a huge upfront inventory investment they just can't make.
We knew that had to be different. At Dirt Cheap Headwear, we've set our MOQs to be incredibly friendly for projects of all sizes. For any custom embroidered hat, our minimum is just six pieces per logo. This low number opens up a ton of possibilities.
- Test the Waters: You can try out a new design without being stuck with boxes of unsold hats.
- Go Niche: Create a small batch for a local sports team, a company event, or a limited-edition online drop.
- Keep Cash Flow Healthy: Order what you need, when you need it, without tying up all your capital in inventory.
This approach takes the risk out of buying in bulk and makes professional, custom headwear accessible to literally everyone.
Mapping Out Your Production Timeline
Just as quantity impacts your price, customization impacts your schedule. It’s so important to understand the difference in timing between a simple blank order and one with custom embroidery. Not factoring this in is how deadlines get missed.
Ordering blank wholesale winter hats is as straightforward as it gets. If the hats are in stock, we can usually get them out the door in 1-2 business days. It’s the perfect solution when you need to restock fast.
A custom order, on the other hand, is a journey with several key steps. Each stage needs time and a sharp eye for detail to get you that perfect finished product.
The Best Advice We Can Give: Always, always build a little buffer time into your custom order schedule. Timelines are solid estimates, but things can happen—a shipping delay or a slow artwork approval. Ordering a bit earlier than you think you need to is the secret to a stress-free delivery.
So, what does that journey actually look like?
A Sample Custom Order Timeline
To give you a clear picture, here’s a typical breakdown of the stages for a custom embroidery order. Keep in mind that times can shift depending on how complex your order is or how busy the season is, but this is a great road map to plan with.
Sample Order Timeline Breakdown
This table breaks down the typical journey of a custom embroidered hat order, from the moment you hit "send" on your quote request to the day the box lands on your doorstep.
| Stage | Estimated Time | Key Action |
|---|---|---|
| Quote & Order Placement | 1 Business Day | You send us your design and hat choice; we send back a detailed quote for you to approve. |
| Artwork Digitization | 1-2 Business Days | Our pros translate your logo into a stitch-based file that our embroidery machines can read. |
| Digital Proof Creation | 1-2 Business Days | We create and send you a digital mockup to confirm placement, colors, and size. This is your chance to give the final "go-ahead." |
| Production & Stitching | 10-15 Business Days | Once you approve the proof, your hats get in line and our machines get to work embroidering them. |
| Quality Control & Packing | 1-2 Business Days | Every single hat is inspected by hand to make sure it’s perfect before we pack it up. |
| Shipping | Varies by Location | Your order is on its way! The final transit time depends on the shipping carrier and where you are. |
Nailing down these logistics is the final piece of the puzzle. With this info in hand, you’re ready to plan your inventory, lock in your budget, and time your launch perfectly.
A Practical Guide to Quality Control
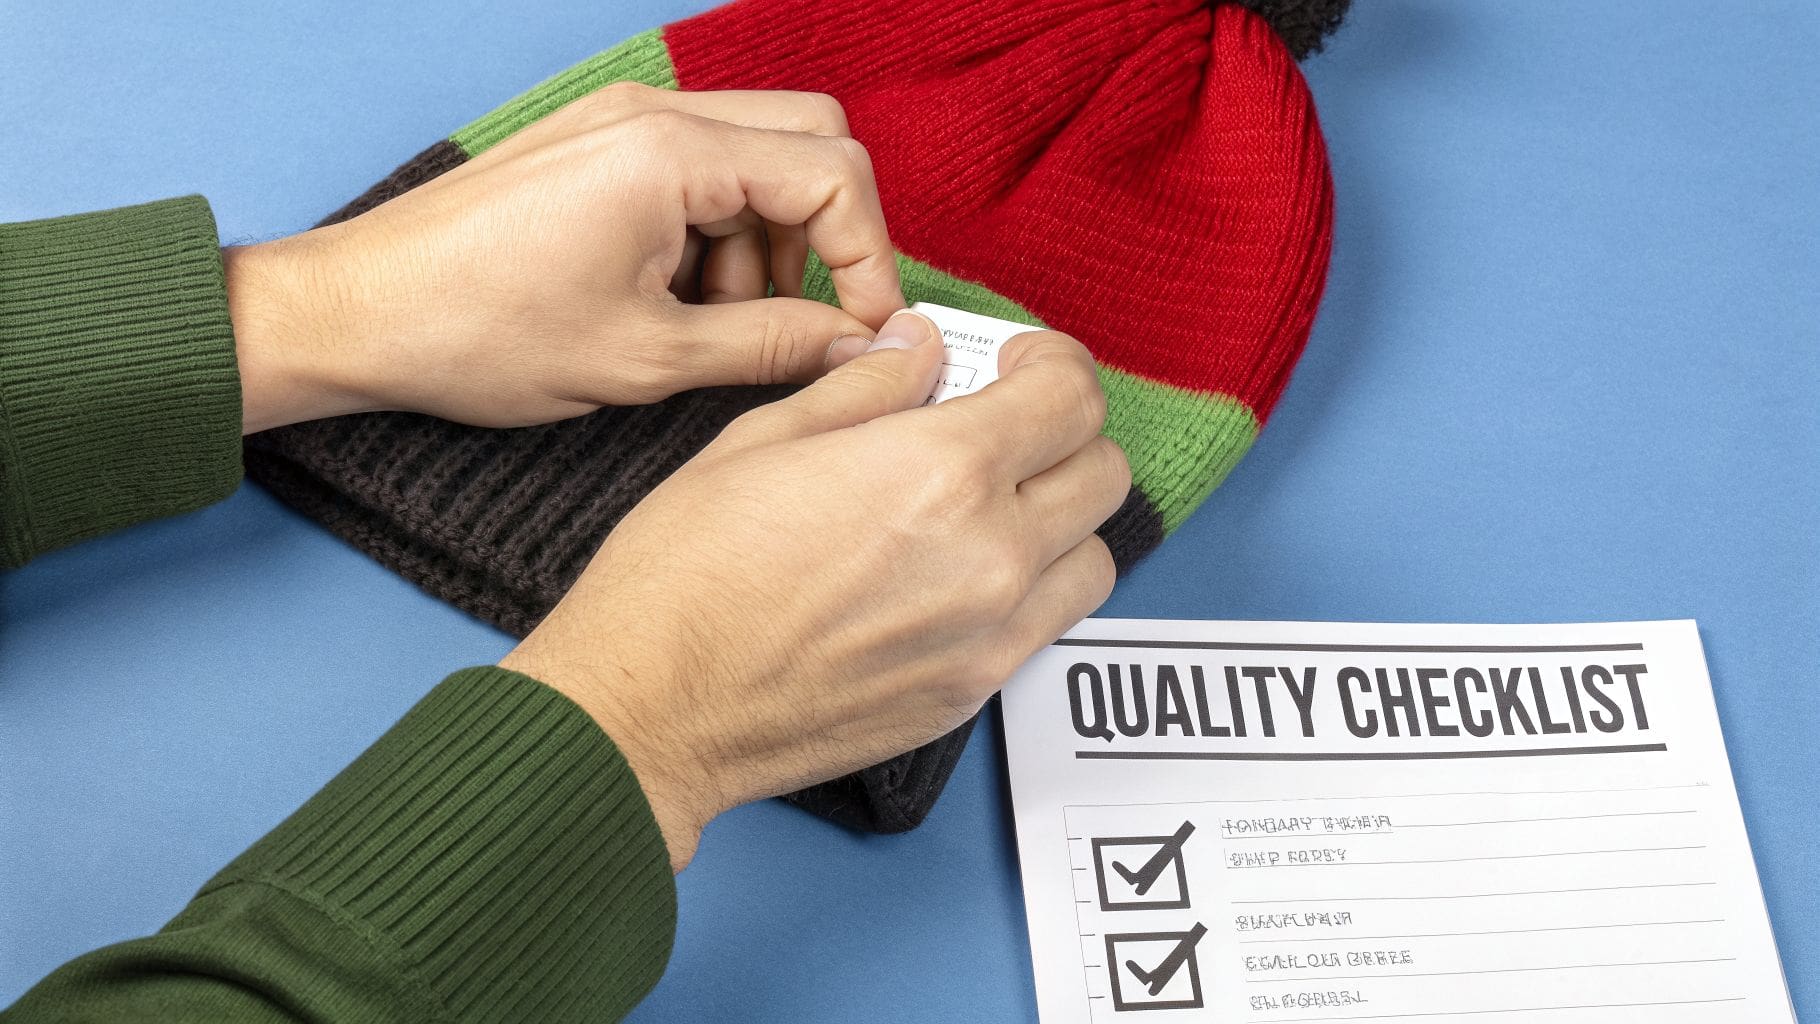
Your brand’s reputation isn’t just about a cool logo. It’s woven directly into the quality of the products you sell or hand out. One loose thread, a crooked seam, or a messy embroidery job can instantly make your brand look unprofessional. That’s why a solid quality control process isn't just a "nice-to-have"—it's an absolute must when you order a wholesale winter hat. It’s your final line of defense to make sure what shows up on your doorstep is exactly what you envisioned.
Think of it like proofreading an important document before hitting "print" on a thousand copies. You wouldn't send it out full of typos, right? The same logic applies here. A quick inspection gives you the power to catch small issues before they become big, brand-damaging problems.
The Sample Is Your Blueprint
Before you even consider placing a full order, get your hands on a sample. The sample is your best friend in this process. Whether it’s a blank hat you're evaluating or a fully decorated pre-production sample, that one single piece tells you everything you need to know. Don't just give it a quick glance—really put it through its paces.
Here’s what I always look for when a sample arrives:
- Knit Density and Feel: Is the knit tight and consistent, or can you see daylight through it? A denser knit is warmer and a clear sign of better construction. Does the material feel the way you expected it to?
- Seam Integrity: Take a close look at the seams, especially at the crown and around the cuff. Are the stitches even and tight? Give them a gentle tug to see if they pull apart. They shouldn't.
- Overall Shape and Fit: The most important test: try it on. How does it fit? Is it comfortable? If it’s a cuffed beanie, does the cuff fold cleanly and evenly?
This first check confirms the fundamental quality of the hat itself. It's especially critical if you plan on getting them embroidered, as not all hats are created equal. We have a whole guide on this topic—while it's about trucker hats, the same principles apply here: buying bulk blank trucker hats that stitch well.
Inspecting Your Digital and Final Proofs
For any custom order, quality control actually starts on your computer screen with the digital proof. This is your opportunity to review the size, spelling, colors, and placement of your design before a single stitch is made.
Critical Checkpoint: Treat your digital proof like a final, binding contract. Because it is. Once you sign off on it, you’re giving the factory the green light to produce exactly what you see on that screen. Triple-check every single detail.
When the big day comes and your boxes arrive, it's time for the final inspection. Don't just crack open one box, pull out one hat, and call it a day. The goal here is to spot-check for consistency across the entire run.
Your Final Bulk Order Inspection Checklist
I recommend grabbing a few hats from a few different boxes to get a good random sample. You’re not searching for microscopic flaws, but you are making sure the entire order lives up to the standard set by the sample and proof you approved.
- Embroidery Quality: Get up close with the stitching. Are the lines crisp and clean? Is the fill area dense, with no fabric showing through? If you ordered 3D puff, is the height consistent across the design?
- Placement Consistency: This is a big one. Pull out three or four hats and line them up side-by-side. Is your logo in the exact same spot on each one? Even a small shift is surprisingly noticeable, especially if these are going on a retail shelf.
- Color Accuracy: Hold a hat up next to your computer screen with the digital proof. Colors can vary slightly from screen to fabric, but the thread colors should be a very close match to what you approved.
- Overall Cleanliness: Look for any stray threads that need to be snipped or any small smudges from handling during production. A good supplier cleans this up for you, but it never hurts to do a final check.
Running through this final walkthrough is what protects your investment and makes sure every single wholesale winter hat you send out into the world is something you can be proud of.
Getting Your Order Started: A Step-by-Step Guide
Alright, you’ve done the research on styles and materials. Now for the fun part: bringing your custom winter hats to life. We’ve made our ordering process as simple as possible so you can get from an idea to a finished product without any headaches.
Think of it as just four simple steps. We’ll guide you through each one, making sure every detail is perfect before we ever start stitching. You focus on the design, and we’ll handle the rest.
Step 1: Find and Choose Your Hats
First things first, head over to our online catalog. This is your playground. You'll find hundreds of options from go-to brands like Richardson, YP Classics, and Valucap. You can easily filter by style, brand, or color to quickly zero in on the perfect hats for your project.
Once you have your hat models picked out, it's time to add your personal touch using our custom order form.
Step 2: Fill Out the Custom Order Form
This form is where your vision starts to take shape. It’s a straightforward page where you’ll give us all the key information we need to get your order rolling.
Here's what you'll tell us:
- Your Hat Choices: List the specific model numbers and colors you've selected.
- Your Artwork: Upload your logo or design. We love vector files like .AI or .EPS, but a high-resolution image works just fine, too.
- Your Instructions: Let us know where you want the embroidery, how big it should be, and if you have any specific thread colors in mind.
After you submit it, our team personally reviews everything to make sure it's good to go.
Expert Tip: Don’t stress if your artwork file isn't 100% perfect. Our art team looks at every single design and will let you know if any tweaks are needed to make the embroidery look clean and sharp. We’re here to make your design look great.
Step 3: Approve Your Digital Mockup
This part is crucial. Before we start any production, we’ll digitize your logo and send you a digital proof. This is basically a picture showing you exactly what your design will look like embroidered on the hat.
Nothing goes into production until you approve this proof. It’s your final chance to confirm that the sizing, colors, and placement are exactly how you want them, ensuring there are no surprises when you open the box.
Step 4: Finalize Payment and Shipping
Once you give us the green light on the proof, the last step is to handle the payment and confirm where you want everything shipped. As soon as that's done, your order is officially in the queue and our production team gets to work.
From there, you can sit back and relax. Your custom-embroidered winter hats will be on their way to your doorstep before you know it.
Frequently Asked Questions About Wholesale Winter Hats
Diving into a bulk order for the first time can bring up a few questions, and that's completely normal. You want to get every detail just right. We've been doing this a long time, so we’ve put together the questions we hear most often to give you clear, simple answers.
Think of this as your quick-start guide to the practical side of ordering. We'll cover the nitty-gritty details—from minimums and timelines to artwork files—so you can place your order with total confidence.
What Is the Minimum Order for Custom Wholesale Winter Hats?
You don't need to order a mountain of hats to get started. For any custom embroidery, our minimum order quantity (MOQ) is just six hats per logo.
This is a huge advantage for smaller projects. It’s perfect for a local sports team that just needs a few hats, a small business outfitting its crew, or even if you just want to test a new design before committing to a larger batch. It opens up professional-grade custom gear to everyone, without forcing you to buy more than you need.
For blank hats without any customization, the minimums can sometimes vary by the specific style, but we always do our best to accommodate orders of all sizes.
Can I Mix Hat Colors and Styles in a Single Order?
Absolutely! This is one of the smartest ways to add variety to your order without adding cost. As long as the embroidered design itself—the logo, the thread colors, everything— stays exactly the same, you can put it on different hat styles and colors.
The only real rule here is that you still need to meet that six-piece minimum for the logo. So, you could order three black beanies and three grey pom hats with the exact same white logo, and you’re good to go. Just let us know the breakdown you want when you fill out the custom order form.
Pro Tip: Mixing and matching is a fantastic strategy. It lets you cater to different tastes or build a more dynamic retail display, all while keeping your production run simple and affordable.
This approach saves you from dealing with multiple setup fees and gives your audience a much better selection to choose from.
How Long Does a Custom Embroidery Order Take to Arrive?
Once you’ve signed off on your digital proof, our standard production time for custom embroidery is 10-15 business days. This is where the magic happens—we digitize your artwork for our machines, handle the stitching, and run every hat through our quality control checks.
It’s important to remember that this timeline doesn't include the time it takes for the hats to ship to you. If you have a hard deadline for an event, make sure to tell us right when you place your order. Giving us a heads-up early on is the best way to ensure we can hit your date. We'll always do everything we can to work with your schedule.
What Artwork File Format Is Best for Embroidery?
To get the cleanest, most accurate embroidery, a vector file is always the gold standard. The file types we love to see are:
- .AI (Adobe Illustrator)
- .EPS (Encapsulated PostScript)
- .PDF (when it’s saved from a vector program)
Think of a vector file like a recipe. It's made of mathematical points and lines, so we can scale your logo to any size—from a tiny hat detail to a giant banner—and it will never get blurry or pixelated. That precision is exactly what we need for perfect stitching.
But don't worry if you don't have one! We can also work with high-resolution raster files like a .JPEG, .PNG, or .PSD. If you're not sure what you have, just send it over. Our art team will take a look and let you know if we need to make any tweaks to get your embroidered wholesale winter hat looking sharp.
Ready to create amazing headwear for your brand, team, or event? At Dirt Cheap Headwear, we make sourcing and customizing your hats easy and affordable. From our low minimums to our expert embroidery, we're here to help you every step of the way. Start your custom order today!