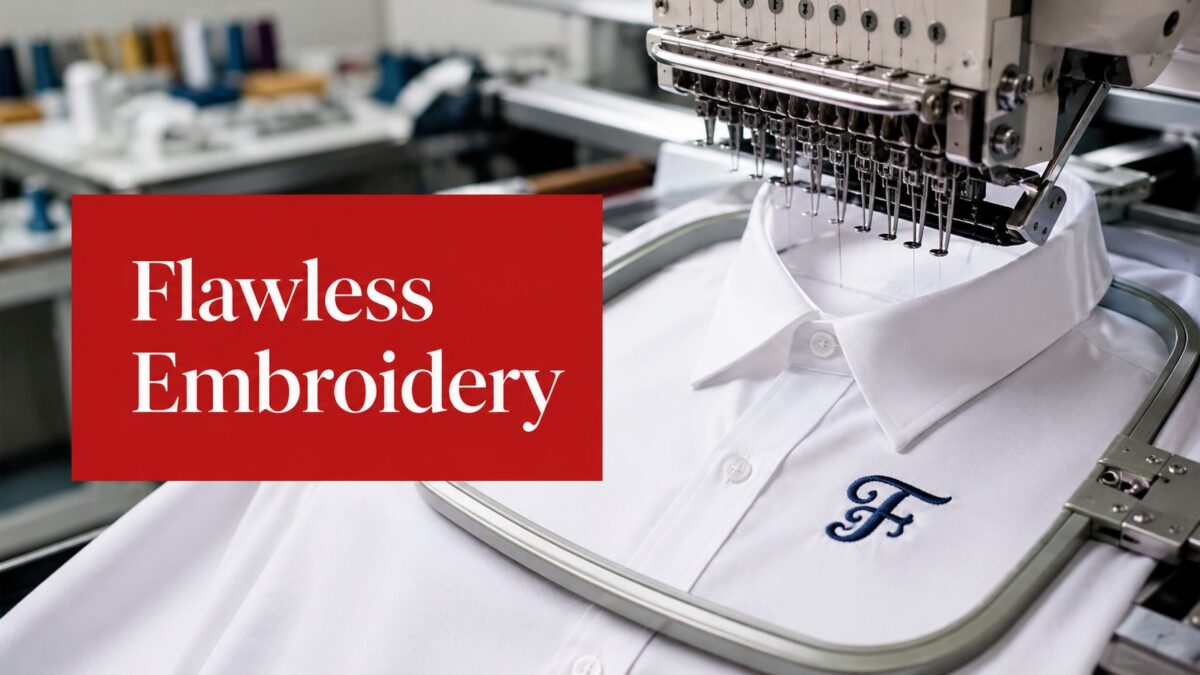
You're standing over a stack of crisp dress shirts, trying to decide where a logo should go so it looks sharp instead of crowded. That is the primary challenge with dress shirt embroidery. The shirt has to stay smooth, the logo has to read clearly, and the stitching has to survive wear and washing without puckering or drifting out of place.
Introduction to Dress Shirt Embroidery
A plain dress shirt can look finished in seconds when embroidery is placed and stabilized correctly. The same shirt can also look cheap fast if the design is too dense, too low, or stitched with the wrong backing. Many consumer guides gloss over how fabric behavior and stabilization affect embroidery quality, even though stabilizer choice, hooping, and hoop tension determine whether stitches hold up after washing (video reference).
That's why this topic matters for teams, decorators, and anyone ordering branded apparel. A polished logo on the chest or cuff signals care, but the result depends on more than the artwork. The shirt construction, the thread plan, and the way the garment is hooped all affect the final finish.
This guide keeps the focus on practical decisions that often get skipped. You'll see how embroidery works on dress shirts, what styles make sense, where designs usually sit, and why certain fabrics need more support than others. The goal is simple, fewer surprises, fewer wasted samples, and better-looking shirts from the first run.
Understanding Dress Shirt Embroidery
A dress shirt with embroidery starts as a plain garment and becomes something more specific. A logo on the chest, initials on a cuff, or a small mark near the placket all depend on the same basic process, a flat design is converted into stitches that sit on the fabric surface. That change sounds simple, but the shirt's weave, thickness, and stretch all affect how clean the final result looks. Historical reference sources describe embroidery as decorating fabric with needle and thread, and they trace stitched decoration back to around 30,000 BC (Met Museum).
Why it still feels premium
Embroidery reads as premium because it carries visible structure. Thread catches light differently from ink, so even a small design has texture and depth that printed decoration does not. On dress shirts, that texture can make a logo look integrated with the garment, especially when the stitching follows the shirt's lines instead of fighting them.
The history behind the technique also helps explain that impression. Embroidery moved from hand-stitched decoration on elite garments to a more organized textile method used on collars, plackets, cuffs, and chest marks. Early machine development helped that shift, with Josué Heilmann developing an early hand-embroidery machine in 1832 (Met Museum).
Practical rule: on a dress shirt, embroidery should feel like part of the garment construction, not a patch pasted on at the end.
That rule matters because dress shirts show mistakes quickly. If the design is too dense, too large, or placed where the fabric curves sharply, the shirt can look stiff instead of refined. A well-sized mark on the chest or cuff works more like tailoring, it supports the shirt's shape rather than overpowering it.
From handwork to machine precision
Machine embroidery changed the process from slow handwork to repeatable production. Josué Heilmann is widely credited with inventing an early practical embroidery machine in 1828, which helped move decorative stitching into industrial production (LogoUp). That historical shift matters now because it explains why dress shirt embroidery can feel traditional while still fitting modern production needs.

The practical benefit is consistency. Once a design is digitized correctly and the shirt is stabilized properly, the same embroidery can be repeated across a small order without losing its shape. That is why the method works so well for office wear, hospitality uniforms, and event apparel. The shirt still looks like a shirt, but the stitching gives it a clear identity that holds up better than decoration applied without attention to fabric behavior.
Common Dress Shirt Embroidery Styles with Examples
The two most common looks are monograms and logos, but they solve different problems. A monogram says the garment is personalized. A logo says the shirt belongs to a brand, group, or event. Both can work well on dress shirts, but the right choice depends on whether you want subtlety or a stronger branded presence.

Monograms and when they fit
Monograms work best when the shirt needs a personal touch without looking loud. Cuffs, collars, and small chest placements are natural homes for initials because the design stays compact and reads as polished. On dress shirts, that restraint often looks more intentional than a large design trying to dominate the fabric.
A three-letter monogram is a strong fit for weddings, executive gifts, and private clubs. It also works when the shirt itself is already doing a lot visually, such as a patterned weave or a detailed collar style. In those cases, the embroidery should support the shirt rather than compete with it.
Logos and wordmarks
Logos are the better choice when the shirt is part of a public-facing uniform. A clean wordmark on the chest or sleeve helps staff look coordinated without needing extra decoration. Fine-detail logos can also work if the artwork is digitized carefully and the stitch plan respects the shirt's shape.
A logo that looks great on a screen can fail on a shirt if the smallest elements are too dense for thread.
That's why some artwork gets simplified before stitching. Outlines may replace tiny fills, and letter spacing may need adjustment so the finished result stays readable from a normal viewing distance. The same principle applies to name tags and small identifiers, where clarity matters more than visual complexity.
Picking the style by use case
Use the shirt's purpose as the filter. For client meetings and hospitality, a subtle monogram may feel right. For staff uniforms, sales teams, or event apparel, a logo or wordmark usually communicates the brand faster. If you're deciding between the two, think about whether the shirt should feel personal, corporate, or both.
Ideal Placement and Size for Shirt Embroidery
Placement can make a good logo look professional or awkward in seconds. The common starting point for a chest design is about 3.5 to 4.5 inches from the neck, centered between the side seams, while some expert charts place standard shirts closer to 5 inches down from the collar (Echidna Sewing). Those are starting points, not fixed rules, because dress shirts don't all behave the same.
Measure the shirt, not just the design
Shirt construction changes where the eye naturally lands. A narrow placket, a pocket, or a curved yoke can make a centered logo look off balance even when the measurement is technically correct. Placement guides recommend measuring from the placket or side seam and keeping the design visually balanced, with at least 1.5 inches of clearance from hems or seam lines when possible (SewGuide).
Practical rule: if the shirt has a pocket or a narrow front panel, check the seams first and the mockup second.
That prevents the most common error, which is placing a logo where it looks centered on paper but crowded on the garment. A second trap is using the same placement on every shirt size. Larger shirts often need a small positional adjustment so the logo doesn't ride too high or sink too low.
Sample Shirt Embroidery Size Chart
| Shirt Area | Distance from Collar | Logo Width |
|---|---|---|
| Left chest on standard dress shirt | About 3.5 to 4.5 inches | Small to medium, depending on artwork |
| Left chest on shirt with pocket | Adjust to clear the pocket line | Smaller width to keep balance |
| Center chest on clean front panel | About 5 inches from collar on some shirts | Medium width for readability |
| Cuff or sleeve accent | Measure from seam and edge area | Very small, detail-focused |
If you want a quick companion guide for naming and small custom placement, the internal reference at how to embroider a name is a useful next read.
The smartest workflow is simple. Lay the shirt flat, mark the placket and side seams, then tape or chalk the design position before hooping anything. That small prep step keeps the stitching centered on the garment instead of centered only in the file.
Choosing Materials Stabilizers and Caring for Embroidery
A dress shirt can look polished on the rack and still give trouble at the hoop. The difference usually comes from material choice and how the stabilizer supports the fabric under stitching. On cotton shirts, a medium-weight cutaway or tearaway stabilizer is often used, and a water-soluble topper helps keep detailed stitching from sinking into the weave. Thread tension also needs to match the shirt's weight and weave, because tight tension can pull the fabric into puckers while loose tension leaves the stitch formation uneven, as shown in HoopTalent.
Thread, needle, and stitch control
For cotton shirt work, digitizers often aim for about 0.5 to 0.6 mm between stitches, pair 40-weight top thread with 60-weight bobbin thread, and choose a 75/11 needle for knits or a sharp needle for woven dress shirts to reduce fabric damage and puckering. Those settings matter because a dress shirt gives far less room for error than a sweatshirt or cap.
The shirt's construction changes the result, even when the artwork stays the same. A front panel with a firm weave behaves differently from a softer shirt body, and a pocket, placket, or narrow yoke can shift how the fabric sits in the hoop. That is why the stabilizer has to match the fabric first, then the design. A shirt that feels slightly structured on the table may still ripple if the backing is too light or the needle leaves the fabric under too much stress.
If the shirt is lightweight, do not stretch it in the hoop. Let the stabilizer carry the load. The fabric should stay flat and supported, not pulled out of shape, or the finished logo can move once the shirt relaxes after hooping.
Care that keeps the stitch line clean
After stitching, care is about protecting both the thread and the garment shape. Wash shirts gently, avoid rough mechanical stress, and store them folded or hung so the embroidery is not compressed for long periods. If the shirt is part of a special event order, a separate care guide helps staff handle it properly, and essential care for wedding day items is a good example of the kind of clear instructions that reduce damage after delivery.
The same logic applies to everyday workwear. Heat can flatten textured thread, so iron carefully and avoid pressing directly across thick embroidery whenever possible. If the front panel starts to ripple, the problem usually began with stabilizer choice or hoop tension, not with the thread color.

For a quick maintenance reference, the internal guide on hat cleaning tips is helpful because many of the same handling habits, such as avoiding heat damage and rough agitation, also apply to embroidered apparel.
Digitizing Production Pricing and Ordering Tips
A dress shirt order can look simple on paper and still go wrong at the file stage. Embroidery pricing starts with the artwork, because the design has to be converted into a stitch file the machine can read, and that process is called digitizing. A clean file keeps the needle path predictable, which matters even more on woven shirt fabric than on a basic tee. For a practical overview of how that setup work is handled, how to digitize a logo for embroidery shows what the digitizer needs before production begins.
What the workflow looks like
A typical order moves through a few clear stages. Artwork is prepared, digitized, tested, stitched, checked, and delivered. The file has to behave like thread, not like a printed image, so the stitch plan needs to account for pull, direction, and where the shirt may flex.

That sequence is easier to understand if you separate design approval from production setup. A logo can look correct on screen and still need small adjustments once it is translated into stitches, especially on a dress shirt front where buttons, plackets, and seams affect placement.
What drives price
Pricing usually depends on stitch count, fill density, the number of colors, and whether the design needs special handling. Dense fills take longer to stitch and can behave differently on dress shirts than lighter linework. That is why a clean wordmark can be simpler to produce than a full crest, even if both look small on screen.
A small-looking logo can still be expensive to stitch if it uses a dense fill and several separate elements.
Fabric type also matters. A smooth woven dress shirt behaves differently from a stretchier shirt, and the stitch file has to reflect that difference. Stabilizer choice affects how the fabric sits under the needle, so a design that looks fine on one shirt construction may ripple or shift on another. If you request 3D puff, specialty thread, or unusually fine detail, those choices should be discussed before the proof is approved, not after.
How to order without confusion
Start with a clear visual brief. Send the exact placement, the shirt type, the preferred thread colors, and whether the logo should be subtle or highly visible. If you are comparing vendors, ask for a proof before production so you can catch spacing or sizing issues while changes are still easy.
For in-house or wholesale orders, give your decorator the shirt measurements and the target placement measured from the collar or placket. That keeps every size consistent. It also reduces the chance of a shirt looking right in the sample but wrong on the production run, especially on styles with different placket widths or pocket placement.
If you are working with a vendor like Dirt Cheap Headwear, the useful part is the combination of in-house embroidery, low minimums, and a simple order process for small runs. That matters when you are testing a new uniform look or ordering shirts for a limited event without taking on more inventory than you need.
Conclusion and Key Takeaways
Good dress shirt embroidery is mostly about control. The shirt needs the right style choice, the right placement, the right stabilizer, and the right stitch plan. If any one of those is off, the logo can look distorted, stiff, or too close to seams and plackets.
The biggest mistake is assuming every shirt behaves the same. Dress shirts are shaped garments, so placement has to respect pockets, buttons, cuffs, and panel lines. Stabilizer choice matters just as much as artwork because it determines whether the embroidery sits cleanly on the fabric or pulls it out of shape.
If you're ordering branded shirts, ask for a proof, confirm the distance from the collar, and check how the design behaves on the actual shirt construction. That's the difference between a generic uniform and a shirt that looks deliberately finished.
A CTA for Dirt Cheap Headwear.